Saturday, April 30, 2011

Birthday Turtle

 It's Super Saturday!!!

I hope you are having a fabulous weekend.  We are on our way back from Spring Break vacation in New York so I am sure I'll be spending the rest of my weekend doing laundry!

  Hopefully you'll get some time to stamp!

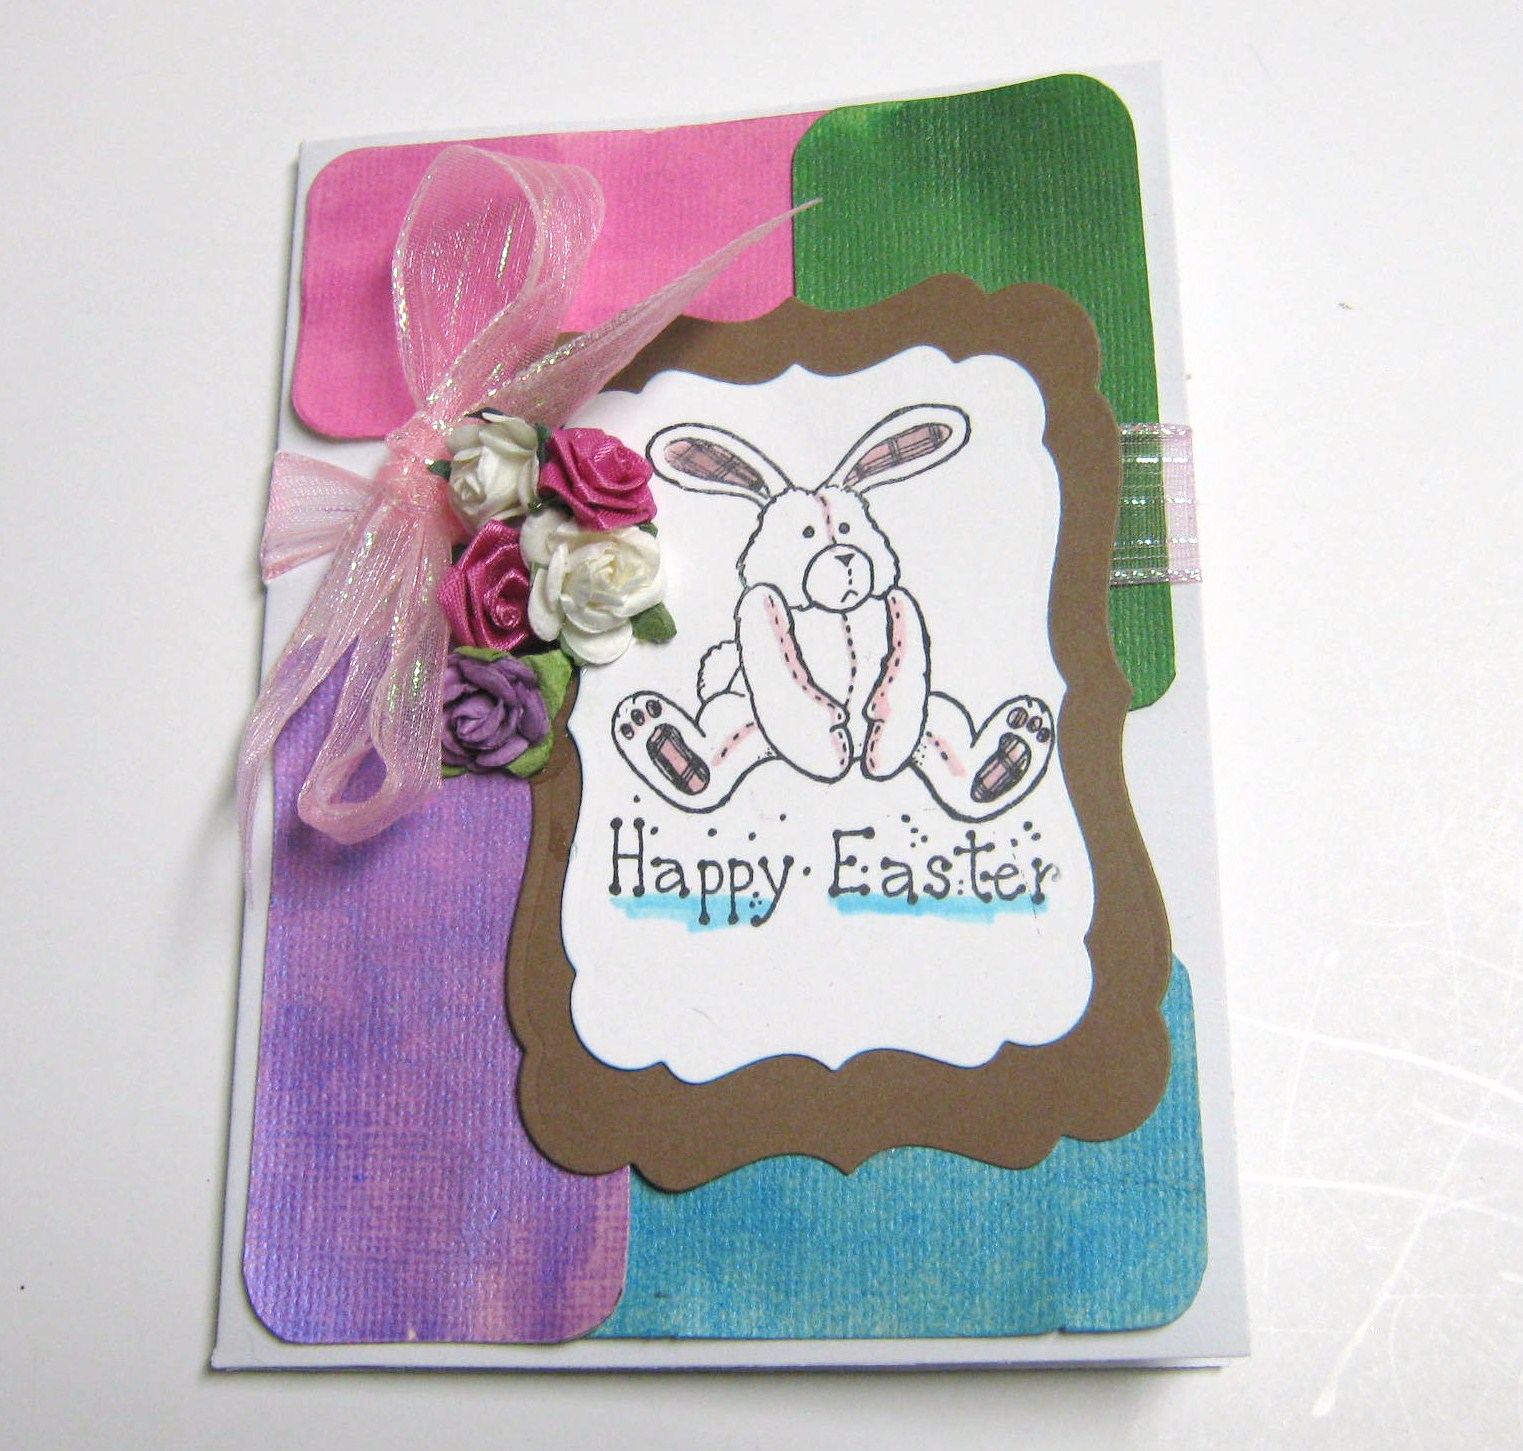
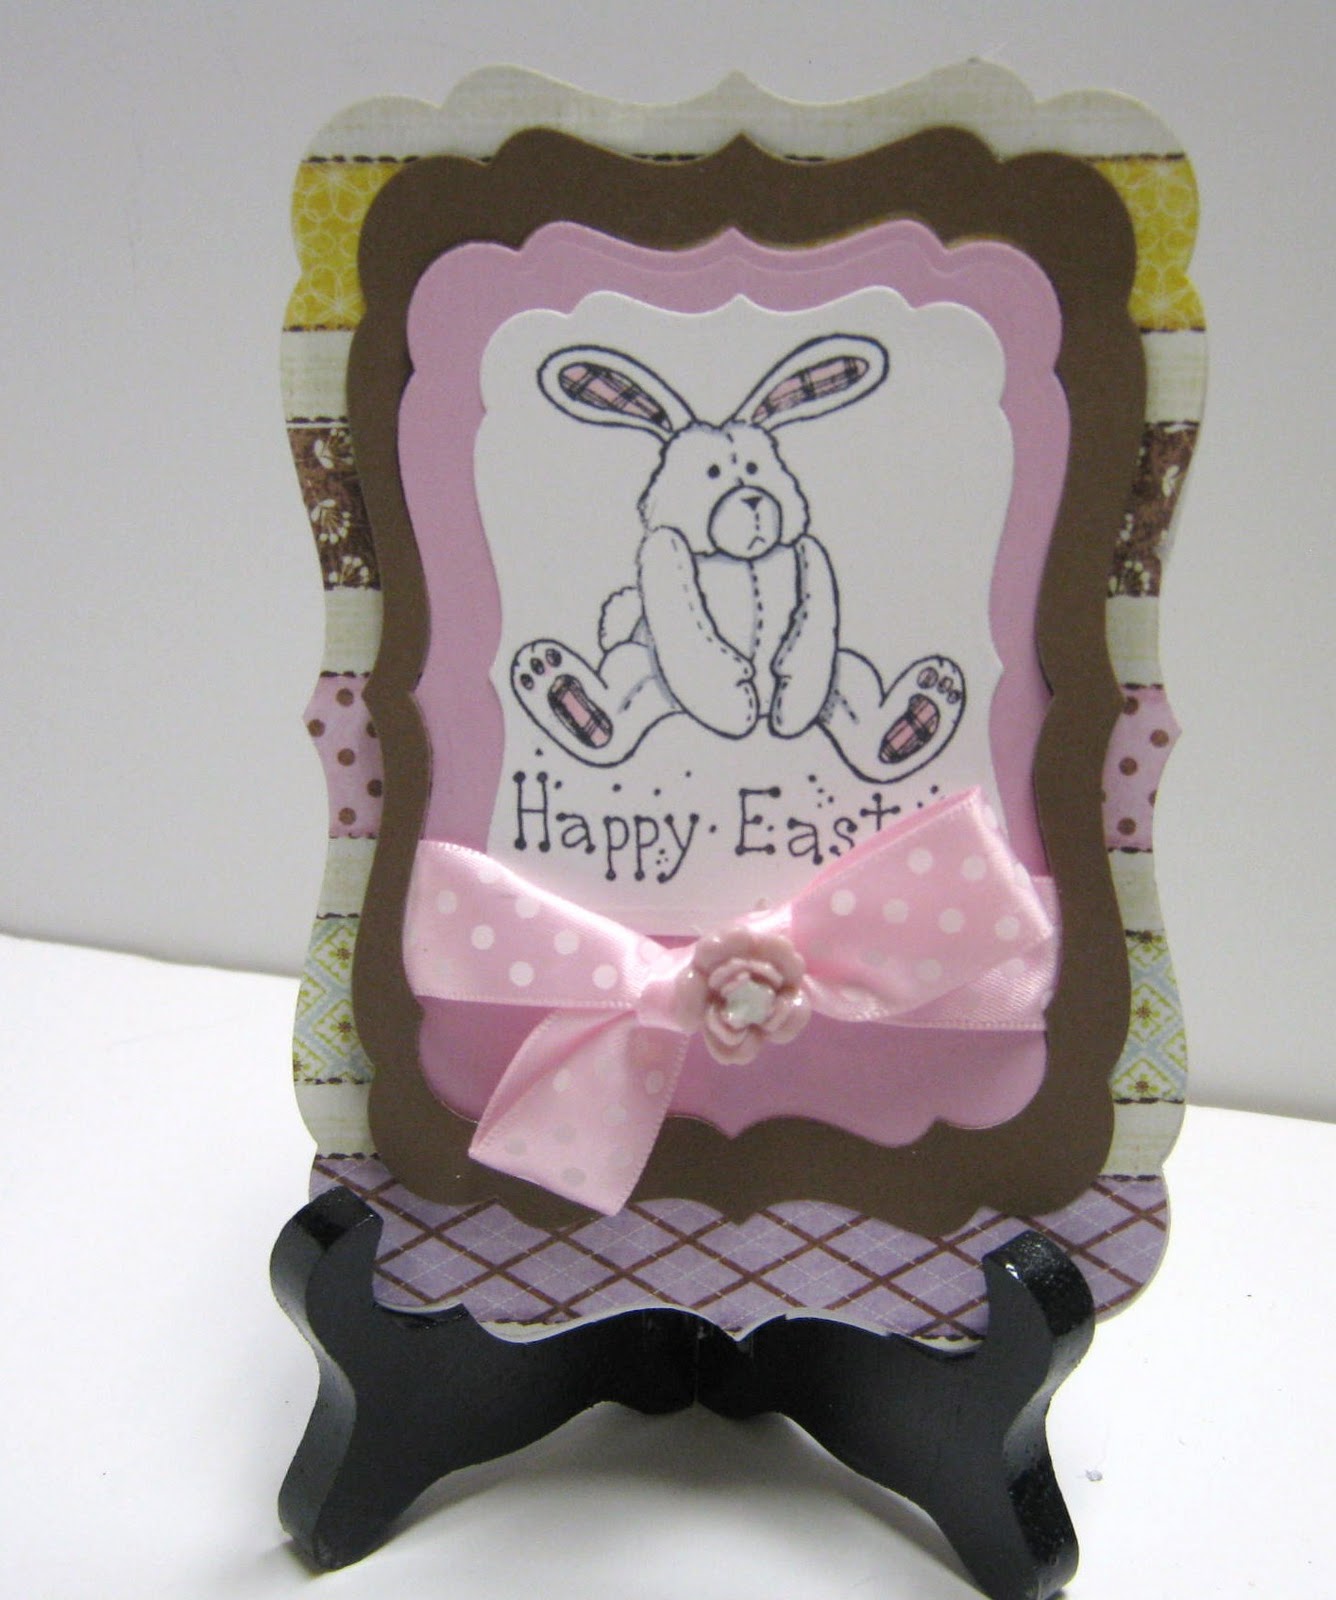
I have a fun Turtle card to share with you today that I made before I left for New York.


How cute is he???    
I just love this American Craft paper too!  I only bought one 12 x 12 piece last time I was at Archivers.  I am going to have to find some more! I die cut the clouds out of the cloud paper and popped them up with pop cots.  I cut the turtle out and popped him up to.  Makes a CAS card a little more interesting!

Stamps:
Ink:
Memento Tuxedo Black & Rose Bud dye ink
copic Markers
Paper:
American Craft patterned paper
Bazzill Cardstock
Neenah white
Other:
Cloud dies from MFT

Thanks for stopping by.  Have a great rest of the weekend!

Kristine

Friday, April 29, 2011

1st Birthday

One of my granddaughter's first words was duck so when I saw this image it was a must have for her birthday this month.  She loved it!

The image was colored with Prismacolor pencils and baby oil using paper stumps for blending.

The waves are cut with ½” and 1” punches, the water drops are from the Scribbles Swirls Sizzix die, it’s the negative portion normally discarded. An application of Stickles was done to both the waves and drops. I did the same for the insert.

The sky is sponged using my hand made cloud template. If you’d like the pattern so you can cut your own you’ll find a link to it under tutorials on right side bar of my blog.

The number 1 is from the Cuttlebug Numbers Collage. I embossed cardstock just larger than the number then cut it out and bordered with colored cardstock.

The envelope was created with a punched out ½” and 1” circles and I traced around a portion of the circle with a Marvy black marker and repeated across with front then colored with Prismacolor pencils.

Stamps: QKR Stampede – 6807 Happy Duck
Paper: Bazzill white and yellow textured, Marco’s smooth white, Stampin Up turquoise and teal
Ink: Memento – Tuxedo Black, Stampin Up – Bashful Blue
Accessories: Stickles, Prismacolor pencils, baby oil, Marvy black marker, Aleene’s tacky glue
Tools: ½”, 1” punches, Cuttlebug and Numbers Collage embossing folder, Scribbles Swirls Sizzix die, paper stumps

Thursday, April 28, 2011

April Showers...

So now that April is ALMOST over...I decided to show you a card I posted on my blog a couple weeks ago. I just love this saying. Such a great sentiment that is called April Showers, is so fun to use. It is also perfect for a focal point of the card too. I stamped this one on CS, and trimmed it down. Then I layered on to the various PP's, added some flowers, and the little boots stickers. Oh, and I can't forget the pearls in the middle of the flowers! A very simple card, but turned out really fun...at least I thought it did...lol. Be sure to check out the other greetings and sayings in the QKR Stampede Store.

Wednesday, April 27, 2011

Under The Sea

I am such a fan of the ocean and all the colors underneath.
I always find that no matter the weather, I enjoy watching the water: rivers, lakes, and the ocean.
Today I want to share my under the water scene.
QKR Stampede has some wonderful images that work perfect for my under the world card.
18706 Sea Turtle is one of the nicest I have seen. I colored a couple with Copic markers and then fussy cut.
I found a free image on-line for the sea floor and printed one copy on vellum and one white card stock for the inside.
I used Kraft card stock and embossed and cut out a window to add the scene.
That yummy ribbon is from Really Reasonable Ribbon.


Wanted to share the inside view also- I decided to outline the inside Sea Turtle so he was more visible through the vellum.
Hope you pop over to QKR Stampede and check out a few of the turtles available.


Tuesday, April 26, 2011

First Morning Cup


Hello

I hope you all had a nice Easter.
We here in Germany had a fantastic weather, only sunshine.
The working week starts so this week with a Tuesday and that is the 4th Sunday of the month. 

I can show you a card again.
I chose me for the wonderful image
"First Morning Cup and made with it a birthday card.


I colored the image with watercolor pencils and I wiped with turpentine.

Have a nice day


Saturday, April 23, 2011

Happy Easter

Happy Saturday!!!

Easter is tomorrow so I thought I'd share an Easter Card with you in case you still have one or two last minute cards to make and need some inspiration.

I have a quick one that I made with "Happy Easter" by QKR Stampede.  I think this bunny would be cute to use all year long by just not inking up the sentiment portion!


Stamps:
Happy Easter by QKR Stampede
Ink:
Memento Tuxedo Black dye ink
Copic Markers
Paper:
The Paper Studio Patterned Paper
Bazzill Cardstock
Neenah white
Other:
EK Success Rick Rack punch
Paper Shapers Retro Flower punch
The Robins Egg Dew Drops

Thanks for stopping by!

Happy Easter!

Kristine

Friday, April 22, 2011

Hangin' On!


This was such a fun card to make and I’ll admit I puttered with those flowers for quite a while but its relaxing and a wonderful way to de-stress! 

The image was colored with both Copic markers (bear fur, pink ears, bandage on rear and clothespins) and Prismacolor pencils (long johns, sock, clothesline, shading on white cloth and flowers).

The image is attached to the card with foam squares cut to the sized needed.

I embossed the flowers with a metal ball stylus and a folded paper towel for a cushion. Negative portions of Cuttlebug dies were used for the black centers. I use a stick pin dipped in glue to pick up the small pieces and place on the larger piece, press down with the finger and pull away the pin then slide into place if needed.

The largest flowers were popped up with tiny foam circles, the next larger size was popped up with two 1/8” circles of cardstock glued together and then to the flower, the smallest flowers aren’t popped up. Aleene’s tacky glue was used for all attaching pieces to each other and to the card.

Images: QKR Stampede -  13408 Just Hangin, 12009 Hangin’ On
Paper: white textured (base), smooth white (flowers), Marcos (smooth white for image), Paperbilities (blue designer paper), Provo Crafts (yellow designer paper)
Ink: Memento – Tuxedo Black
Accessories: Prismacolor pencils, Copic markers, baby oil, Aleene’s tacky glue,
Punches and dies:
Martha Stewart – Branch, Picket Fence border, EK Success – large and small flowers, tiniest flower is an unknown punch. Stampin Up – Top Note die for yellow panel, Cuttlebug Tiny Tags (larger black center), Winter (house doorknob – small black flower center)

Thursday, April 21, 2011

Love Bug!

Hello friends!
Today I'm showing you a card that I made using the "Warm and Fuzzy" (#11506) image from QKR Stampede.

I stamped the image onto white card stock and colored it with watercolor pencils. Then I used a glue pen and outlined the caterpiller and applied some green flocking over the glue.  Perfect for a little love sick caterpiller don't you think?!?!

The red diamond shapes at the top of the card are some small mosaic glass pieces that I had hanging around my craft room.  I knew I'd find a use for them.  I love how they coordinate with that heart.

Thank you for stopping by today.  Be sure to pop on over to the QKR Stampede store to see this and so many more wonderful images.  There really is something for everyone.

Until next time, Happy Crafting!

Wednesday, April 20, 2011

Just Floating by....

Hello QKR Fans!

 Barb here, bringing you a card
 creation from Minnesota!

 My card uses the cute 
turtle image "Floating Away".

I colored the image with colored pencil
blended with mineral spirits.

Close up view:

Thanks for visiting today!
Be sure and check out the QKR Store
 for more cute turtle images!

See you next time!

Barb

Tuesday, April 19, 2011

QKR Pink Button Flowers

My card for QKR Stampede today uses a digital image called "Flowers". I added dimensional magic to the center of the flowers and then the Basic Grey buttons to go with the flowers' button center theme. I also used Basic Grey papers for the card front.


The image was colored with Tombow's Irojiten colored pencils and blended with Gamsol.

Thursday, April 14, 2011

Slow and Steady Blog Crawl

Welcome to the QKR Stampede Slow and Steady Blog Crawl!
Today along the crawl/hop, you are going to see some of the most wonderful eye candy, featuring some of the turtle images from the QKR Stampede Store. We are just sooo excited to share our creations with you today! There is sooo much wonderful talent on this DT, and you will love every creation along the way. If at any point along the way you get lost, just head right back here and you will find the complete Crawl order.
Now...off you go...slow and steady now.
Don't forget to leave some "love" along the way. We love to hear from our "crawlers"!
Now crawl on over to


1. QKR Stampede (you are here!)


7. Roxie


9. Ceal

10. QKR Stampede (you are here!)
I was so torn what to share with you today. I made a card I shared last week on my personal blog, that I just loved, but then today I made this adorable layout...well...the LO won. I guess because I used one of the turtle images from the QKR Stampede Store, and tomorrow the QKR Stampede DT will be hosting a Blog Crawl featuring some of the turtle images that are available from QKR Stampede. SO...did you catch the pun there...Blog Crawl...turtles are slow....lol. Anyway, you can join us for the Blog Crawl right here on the QKR Blog beginning at 8am EST. Now onto my project. I started by stamping THIS little guy on some CS...twice. He is called Golfing Turtle, and is such a fun image to play with. I stamped him twice so I could do some 3-D effect with him. I colored him with marker, and then popped out his shell with pop dots. Next I fussy cut him and layered him on the cloud PP. Then I added him to this...I really like the way this turned out. These are photos of my middle DD's birthday party back in January. She had a mini golf party, and I thought this guy would be perfect to go with this page. I added him to the corner of the 12x12 page, then added a few other embellishments, and some journaling.

Well that is all for now. Hope you can join us tomorrow at 8am EST for our "Slow and Steady Blog Crawl"!

Wednesday, April 13, 2011

Hippity Hop-Hippity Hop

 Hello Everyone- Dawn here with some fun Easter cards to share!!!
QKR Stampede has got some of the cutest theme and holiday images to use.
Now anyone that knows me- knows I love teddy bears and bunnies. Lets just say I have a few in my collection of ratty stuffed animals. (Primitive-country style).

Today I am sharing a couple views of this sweet little 10607 Happy Easter  bunny is one adorable image.
I was playing around with some of my twinkling H2o's and made several swatches to see the effect.
I thought a quick Easter card would look cute with these Easter egg colors as a background.
Some of my favorite ribbon from Really Reasonable Ribbon and a few flowers from Pizzaz APlenty to decorate.
On this second card I had this fun patterned paper from Hobby Lobby  so I cut several mats out of card stock and the pattern to mat my image.
How about that cute pink dotted ribbon from Hobby Lobby- one of my favorites.

As usual- if you like any of the images I share- follow my links into QKR Stampede and check them out.
There are many more available- remember, red rubber or digital are available.

Tuesday, April 12, 2011

Heeeyyy

Today is my Tuesday and I will show you a card. In the next week is Easter and I decided me for a rabbit image. The rabbitimage is so cute. I love it. He holds up one hand and holding the fingers of your other hand on the cross. He's lying? ;-) Is this rabbit a mama's boy? On the left arm I can read "Mom". The name of the image is "Heeeyyy".
I colored the image with watercolor pencils and I wiped with turpentine.


Have a nice day

Saturday, April 9, 2011

Birthday Bear

Hello All!!!

Thanks for stopping by the QKR Stampede Blog today! I hope your weekend is off to a terrific start!
Today I have a quick and easy birthday card to share that I made with Birthday Bear from QKR Stampede.


Stamps:
Birthday Bear from QKR Stampede
Paper:
Bazzill Prismatic Cardstock
Patterned Paper is from my stash
Neenah white cardstock
Ink:
Memento Tuxedo Black
Copic Markers
Other:
Spellbinders dies
EK Success border punch
Cuttlebug embossing folder

I just love these cute little bears from QKR Stampede!
They are available in rubber or digi and since they aren't mounted they are pretty inexpensive as stamps go!

Thanks for stopping by today!

Have a great weekend!

Kristine

Friday, April 8, 2011

Prom Night


This handsome guy is all set to pick up his date and head out to the prom, wonder what she’s wearing!

Prismacolor pencils were used to color the image and Sakura gold gel pen for the tie clip and buttons.

Stickles was applied to the flower centers.

The rick rack is created with an EK Success Zig Zag punch and embossed with the Herringbone embossing folder from Cuttlebug.  It is glued to the card. 

Paper: Paper Pizzazz designer paper, Stampin Up red, Fiskars black unknown white
Ink: Memento – Tuxedo Black
Accessories: Petaloo – flowers, Making Memories brads – white hearts, flower center, Paper Studio – red brads, Aleene’s tacky glue, Stickles
Tools: 1/16 and 1/8” circle punches for brads, paper stumps, EK Success – Zig Zag punch, Martha Stewart Zig Zag punch, Cuttlebug and Herringbone embossing folder

Thursday, April 7, 2011

Life is Good!

Don't you love getting new stamps in the mail?  I know I do.
The other day I got some new stamps from QKR Stampede and today I would love to show you one of the cards I have made with one of those new stamps. 

"Flower Border" (#17915) comes in two sizes, this is the larger size which measures 4.5" x 1.5"  The smaller one is called "Sunflower Border" (#17501) and measures 3" x 1"  I have both of these images and plan to make a card with the smaller image soon.

I recently purchased a blender pen and wanted to try it out, so once I had stamped the image onto white card stock, I used the blender pen and inks to color this image.  I do like the control it gave me and liked the results.  I don't think I would use a blender pen for larger areas, but for small images it works great.

I knew I had some scraps of the yellow plaid paper and the flowers matched perfectly with it.  Once I adhered the yellow paper to the kraft card base, I fussy cut around the image and put that on with foam tape.

The "Life is Good" (#16307) sentiment is also from QKR Stampede.  That is also adhered to the card with foam tape.


Thank you for stopping by today.  I hope you have enjoyed my card.  Stop on over to QKR Stampede to see these images and so many more.  I'm sure you'll find some that you will just love.  Order them and they will be in your mailbox before you know it!

Until next time, Happy Crafting!

Tuesday, April 5, 2011

Happy Easter


Today I am sharing a card made with a sweet digital image from QKR Stampede called "Happy Easter" (you can also purchase the rubber version of this image).

Saturday, April 2, 2011

How Does Your Garden Grow

Hi there!
It's Ceal sharing with you today. Spring is here and it is time to plant those flower gardens. I love these Ragdoll stamps and this Gardner one makes a nice spring card. makes me think of the nursery rhyme Mary Mary quite contrary how does your garden grow?

Friday, April 1, 2011

Tulips and Hope


The image is colored with Prismacolor pencils and baby oil for blending.

The Scor-Pal was used to scor the grid on the background pane. The circles were cut with the Cuttlebug using the Tiny Tags die. The circles are glued to the card with Aleene’s tacky glue, I squeeze out a little glue, touch the pin to the glue then to the back of the circle and pick it up to place on the card, press down with the finger and pull away the pin; you’ll have a little time to slide into place if needed.

The image panel and sentiment panel are mounted on foam tape.

For the sentiment panel I embossed the line while the cardstock was still in the die using a metal ball stylus and avoided going over the image.

To stamp the single image on the inside and envelope I masked off the rubber with a sticky note before inking up, don’t forget to remove the mask before stamping!  This procedure was also done with the sentiment, the full saying is:
Cherish Yesterday
Dream Tomorrow
Live Today
Hope Forever

Stamps: QKR Stampede -15811 Tulip Border, 22801 Hope Forever
Paper: White textured, Bazzill – green, Stampin up – coral
Ink: Memento – Tuxedo Black
Accessories: Prismacolor pencils, baby oil, Stickles, Aleene’s tacky glue, foam tape
Tools: Nestabilities, Scor-Pal, Cuttlebug and Tiny Tags die, corsage pin, paper stumps, metal ball stylus